August 28, 2025
How to Set Up Your Security Camera Like a Pro?
Security is one of the most important aspects of daily life, and modern homeowners increasingly rely on security cameras to keep their families and property safe. A well-installed system does more than just record—it can prevent break-ins, alert you to unusual activity, and give you peace of mind whether you’re at home or away. However, many people underestimate how much the setup process affects performance. To get the most out of your investment, it’s worth learning how to approach the installation process like a professional. In this article, we’ll explore step-by-step strategies that make your setup reliable, effective, and future-proof.
Pre-Installation Planning
Creating a Security Blueprint (Coverage Map)
Before unboxing your camera, it’s wise to create a simple coverage map. This doesn’t need to be overly technical—just a sketch of your home’s layout where you mark entrances, windows, driveways, and other vulnerable areas. Planning in this way prevents wasted equipment and helps you anticipate potential blind spots. Professional installers always start with a blueprint because it saves time and guarantees comprehensive protection. Taking a few minutes to draw one can save you hours of adjustment later.
Tools & Equipment Checklist
Once you have a plan, the next step is gathering the right tools and accessories. At a minimum, you’ll need a drill, screws, wall anchors, measuring tape, and a ladder. For wired systems, extra cabling and clips are important to keep wires neat and safe. Having everything ready before you start prevents unnecessary trips back and forth, which can be frustrating. Professionals know that smooth installation relies as much on preparation as on technical skills.
Camera Placement Masterclass
Height & Angle Calculations for Facial Recognition
Placing a camera at the right height and angle is crucial for clear footage. Too high, and you’ll only capture the top of someone’s head; too low, and it becomes easy to tamper with. Experts recommend mounting cameras between 8 to 10 feet off the ground, angled slightly downward. Angles should be tested by walking through the monitored area while checking live footage. Proper positioning is what makes the difference between vague shapes and actionable evidence.
Avoiding Common Obstruction Mistakes
It’s surprisingly easy to misplace a camera and end up with footage blocked by trees, walls, or even decorations. Seasonal changes can also affect visibility; a clear view in winter may be covered by leaves in summer. Sunlight is another factor: placing a camera directly facing the rising or setting sun can wash out the image. Professional installers often revisit their setups at different times of the day to confirm that shadows or reflections don’t interfere.
Advanced Configuration
Motion Detection Zone Calibration
Motion detection is one of the most powerful features of modern cameras, but it only works well if configured properly. Without calibration, you may receive endless alerts for moving branches or passing cars. Setting custom detection zones allows you to focus only on areas that matter, such as doorways or garages. Most systems allow you to adjust sensitivity levels, so experiment until you find the balance between responsiveness and accuracy.
Night Vision Performance Tuning
Security cameras must work just as well at night as they do during the day. Infrared night vision can create strong reflections if the camera is placed too close to walls or shiny surfaces. To avoid this, keep some distance between the camera and nearby objects. Professionals know that test runs at night are essential—checking live footage in the dark ensures your camera captures details clearly.

Professional Testing & Calibration
After installation, thorough testing is critical. Walk through your property while monitoring the live feed to confirm coverage and adjust angles. Test features like motion alerts and night vision under real conditions. It’s also smart to test connectivity—try viewing footage from different devices to ensure reliability. Don’t rush this stage; spending time now means fewer issues later.
Maintenance & Troubleshooting
Even the best systems need upkeep. Dust, spider webs, and weather can affect image quality, so regular cleaning is essential. Schedule a quick monthly inspection to wipe lenses and check mounts. Software updates are equally important, as they improve security and fix bugs. If you notice poor performance, troubleshooting often comes down to simple fixes like restarting devices or refreshing connections.
Conclusion
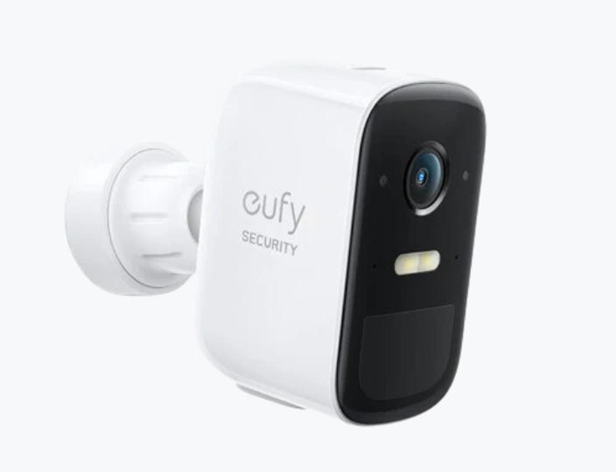
Setting up a reliable security system comes down to smart planning, proper placement, and regular maintenance. For homes without WiFi or with spotty connections, eufy offers security cameras without wifi that still deliver strong protection. By choosing the right setup and maintaining it well, you can enjoy lasting peace of mind, knowing your home is safeguarded year after year. With advanced features designed for convenience, these systems adapt easily to your lifestyle. Ultimately, investing in security today means protecting not only your property but also the well-being of those you love.